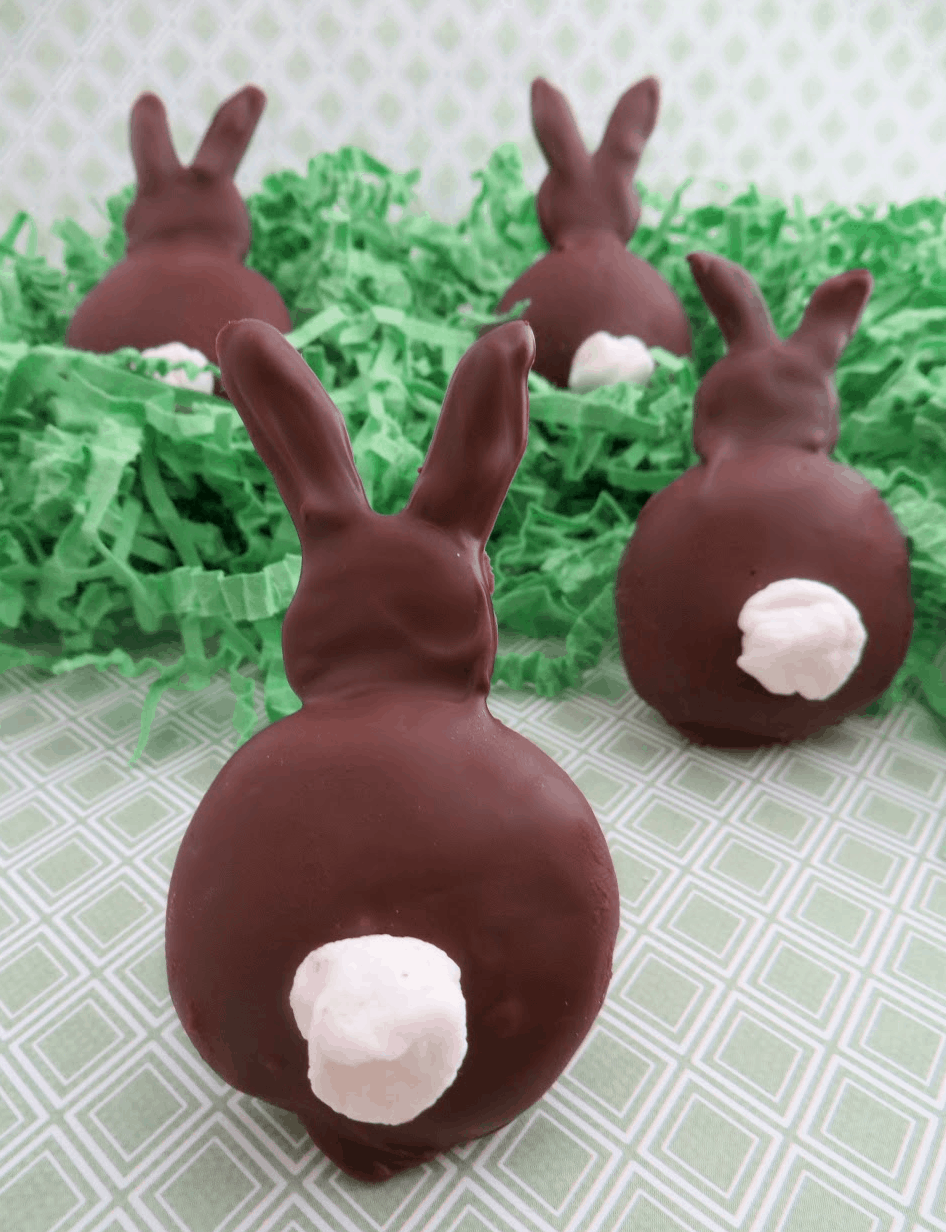
These homemade chocolate-covered marshmallow bunnies are the perfect treat for Easter. Your children will love those bunny silhouettes with their marshmallow cottontails. They are easy to make and even easier to eat!
Can you stand the cuteness?
This is such an easy craft too — one of those food activities that only needs three items. I can get down with that! I know Easter seems far away… but it isn’t.
These Chocolate Bunny Silhouettes are just perfect for the holiday and all season long. Get your kids involved or do the batch yourself.
Here’s a suggestion. Make the Chocolate Bunny Silhouettes for an entire class. Everyone will flip!!
Chocolate Bunny Silhouettes: Fun Easter Craft And Snack For Kids

Yields: 30
Ingredients:
- 1 12 oz. bag semi-sweet chocolate chips
- 30 mini marshmallows
- 30 Nilla Wafers
Additional Materials:
- Piping bag with small round pastry tip
- Parchment paper
- Chocolate dipping or kitchen fork
How To Make Chocolate Bunny Cookies
Place a piece of parchment paper on a baking sheet. Roll each mini marshmallow in the palms of your hands to make them more round and wrinkled – like a bunny tail.
Have your cookies, marshmallows, and dipping fork ready. Melt the bag of chocolate chips. Spoon a portion of the chocolate into a piping bag with small round tip.

Place a Nilla wafer on parchment paper to use as a guide for how large to make the bunny heads. Pipe out a round circle about 1/3 the size of the vanilla wafer. Add two ears and fill in with chocolate.
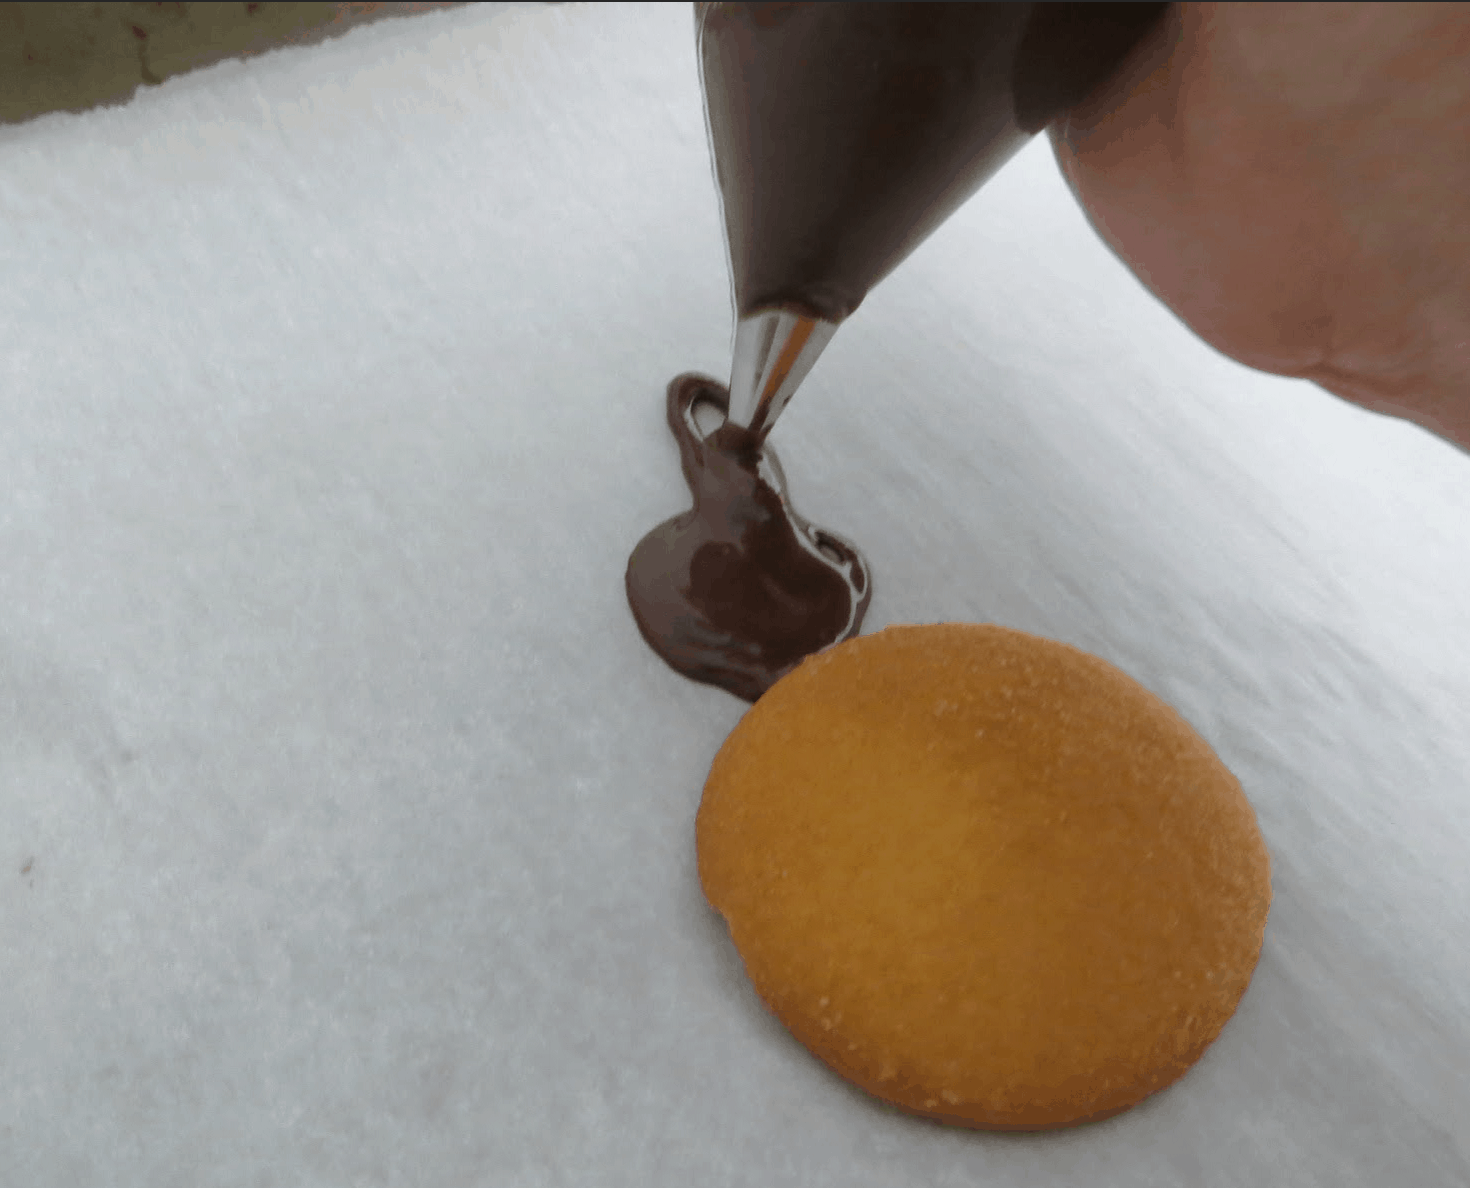
While chocolate is still wet, immediately dip the Nilla wafer into the bowl of chocolate – submerging it completely. Use a fork to lift the cookie out of the chocolate.
Tap the edge of the bowl to allow excess chocolate to drip off. Set the chocolate covered cookie just below the piped bunny head to connect the two.

Press a mini marshmallow onto the bottom of the chocolate covered cookie. Place the Chocolate Bunny Silhouettes in the refrigerator to harden.
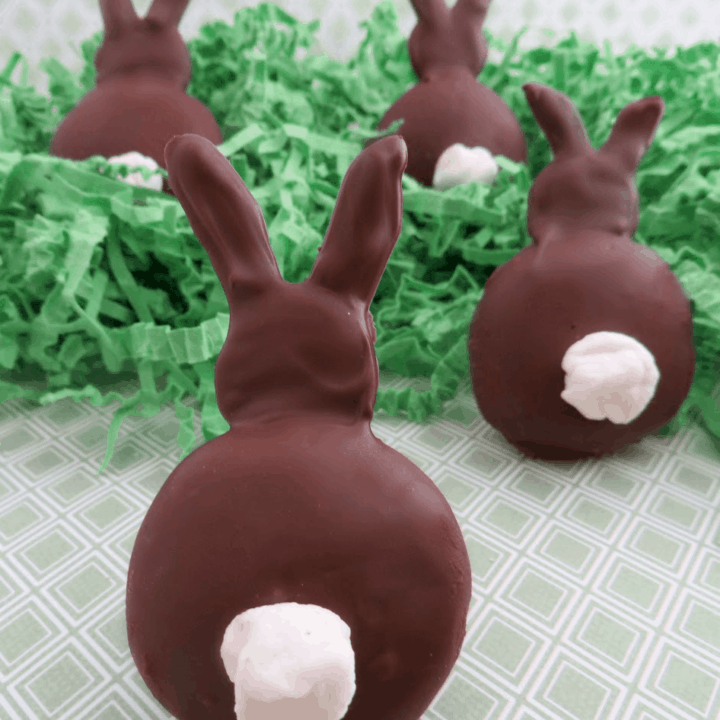
Note: You may use a small piece of modeling chocolate to stand the bunnies up as shown in the photo.
What do you think?? Adorable, right? Hope you have fun making this Easter craft with your kids!!
Related Posts:
- Hidden Bunny Mini Cheesecake Recipe
- Rice Krispie Treats Bunny Bars
- Easter Chick Sugar Cookies
- Bunny Oreos Treats
- Easter Bunny Racers Treats
- Carrots in Dirt Recipe
- Cadbury Creme Egg Cupcakes
- Chocolate Covered Peeps
- Easter Egg Nests
- Easter Caramel Corn
- M&M Easter Cookie Bars
Chocolate Bunny Silhouettes
Easter craft
Ingredients
- 1 12 oz. bag semi-sweet chocolate chips
- 30 mini marshmallows
- 30 Nilla Wafers
- Additional Materials:
- Piping bag with small round pastry tip
- Parchment paper
- Chocolate dipping or kitchen fork
Instructions
Place a piece of parchment paper on a baking sheet. Roll each mini marshmallow in the palms of your hands to make them more round and wrinkled – like a bunny tail.
Have your cookies, marshmallows, and dipping fork ready. Melt the bag of chocolate chips. Spoon a portion of the chocolate into a piping bag with small round tip.
Place a Nilla wafer on parchment paper to use as a guide for how large to make the bunny heads. Pipe out a round circle about 1/3 the size of the vanilla wafer. Add two ears and fill in with chocolate.
While chocolate is still wet, immediately dip the Nilla wafer into the bowl of chocolate – submerging it completely. Use a fork to lift the cookie out of the chocolate. Tap the edge of the bowl to allow excess chocolate to drip off. Set the chocolate covered cookie just below the piped bunny head to connect the two.
Press a mini marshmallow onto the bottom of the chocolate covered cookie. Place the Chocolate Bunny Silhouettes in the refrigerator to harden.